
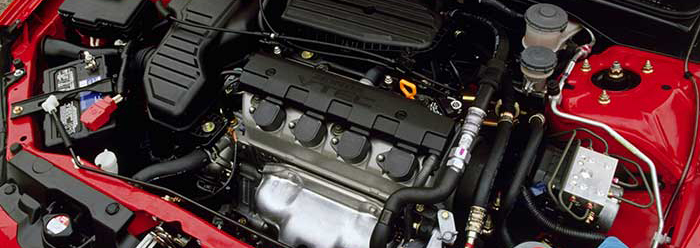
The charging system consists of the battery, alternator, voltage regulator and charging state indicator. When the car gets starting, the alternator provides electrical energy for the whole car. This procedure is essential for the vehicle's smooth running. Let's talk about the working principle and corrective maintenance of the charging system.
The alternator is the primary power source for the vehicle's electrical equipment. The alternator provides energy to all electrical equipment other than the starter motor during the car's normal operation. In fact, when the car is running on the road, most of the electrical energy in the vehicle is supplied by the alternator.
The alternator charges the battery when the surplus of power is left. A typical alternator has a power of 0.8 to 1.5 kW. This range meets the car's electricity needs in many situations. The battery plays its duty when there is insufficient electricity.

The alternator produces immense power in some small-displacement engines. The engine shakes due to the increased load. At this time, the engine can enhance the rotation speed to increase the energy.
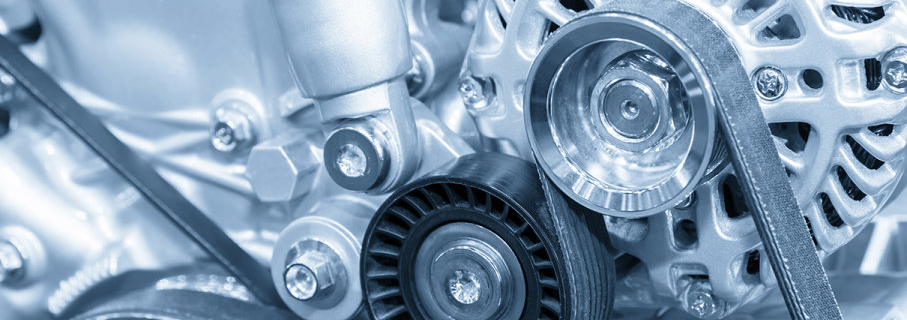
Most of alternators in vehicles are the silicon rectified three-phase type. Rectifiers are silicon diodes. They convert AC current into DC current. The structure consists of the slip ring mechanism, rotor, brush, stator, bearings, three-phase bridge rectifier, front and rear end caps and fan.
The stator produces the current. The rotor produces the magnetic field. The rectifier changes the three-phase alternating current into a pulsating direct current voltage. The amount of electricity generated by the alternator increases as the rotation speed increases.
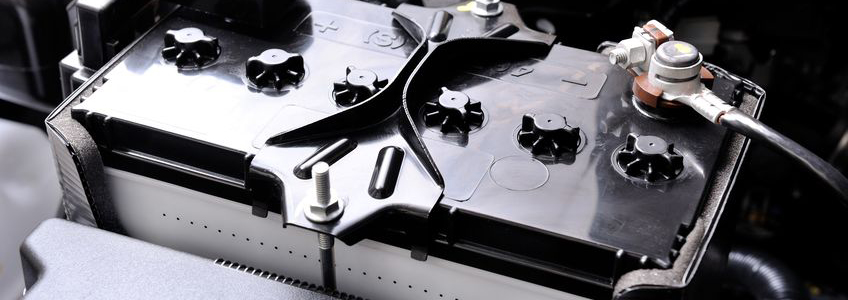
The battery is the biggest powered device in the car. The primary task is to supply power to the ignition system, starter and other powered devices when the engine starts.
When the engine is not working or running at low speed, this component supplies power to various electrical equipment.
The battery helps the alternator in supplying power to all electrical equipment when there are too many devices and the power consumption exceeds the alternator's supply capacity.
Apart from that, the battery can stabilise the voltage in the charging system. This component can be seen as a huge capacitor. It absorbs instantaneous overvoltages in the system. This is beneficial for the power-using devices.
The battery is always considered as the primary power source on the vehicle, but that's not true. The alternator is the real energy source. When the automobile is running, the alternator output voltage is higher than the battery voltage.
The alternator sends energy to all power-using equipment (without the starter). It charges the battery at the same time. The battery is only used to power the starter when the engine is started. It can be seen as a power-using equipment.
The voltage regulator regulates the alternator's output voltage. As a result, the output voltage can be kept between 13.8-14.4 V. In fact, the output voltage rises with the rotation speed.
Too high rotation speed leads to a large output voltage. The car's electrical system can be burned up. Some sophisticated parts will be destroyed.
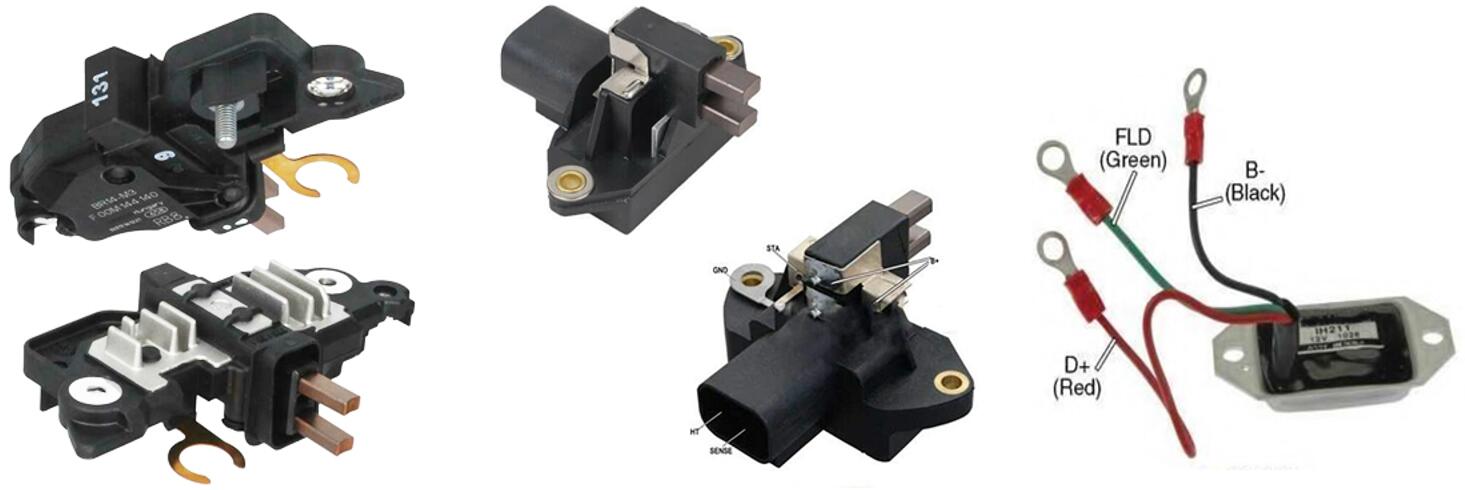
The voltage regulator can avoid those issues. This component in the car today is electronic. Most are installed in the alternator as an integrity. Only a few of them are external. A faulty voltage regulator causes most of alternator failures.
The charging state indicator shows whether the alternator is working properly. If the light stays on, or the voltage is less than 24V while the engine is operating, the alternator doesn't perform well. In this case, we need to get the charging system repaired.
After we let the engine do the job, the battery supplies the excitation current to the alternator rotor, which produces a magnetic field. The engine gets started. The alternator begins to work.
At this moment, the battery provides the excitation current due to the low speed of the alternator. This situation is called "it excitation".
As the alternator speed is faster and faster, it produces more and more power. The alternator's current provides the rotor winding its own current. This process is called the "self-excitation".
When the engine runs without problems, the alternator also works at high speed, generating electricity for the vehicle's power-using devices. The voltage regulator gives up the excitation current when the battery is full. The alternator stops producing electricity.
The voltage regulator turns the excitation current back on if the battery voltage drops to a specific value, and the alternator continues to produce energy.
This process is going on once and once again to ensure that the vehicle devices can get sufficient power. The battery is always fully charged.
To make sure that the vehicle can get power at low speeds, the alternator speed is generally 2.5 to 3 times that of the engine. In this situation, the alternator can provide power even when the car is at idling.
Common faults in charging systems include non-charging, over-charging and under-charging. There are only two causes of issues: poor wiring contact and the defective alternator.
Generally speaking, alternators are now have compact structures. They can't be dismantled for repair in general. When the vehicle charging system is working, the test fire method shall not determine whether the alternator produces electricity.
At the same time, the main electrical equipment such as the battery won't be removed while the alternator is working properly. This prevents surge voltages that can break through sophisticated power-using devices.
Check the condition of the alternator's drive belt and wire connection. If the drive belt is aged, the surface is charred, or the tension is too loose, it will cause the belt to slip. It will make a strange noise and decrease the alternator speed.
If the bearing is damaged, the alternator can't perform well. It produces running noise and, in severe cases, causes contact friction between the rotor and stator, resulting in extreme heat. These problems can lead to charging system failure.
Turn on the ignition switch, and don't start the engine. If the charging indicator does not light up, unplug the alternator harness.
Use the test light to latch on one end and measure the "L" end on the other end. If the charging indicator comes on at this point, you can tell that the alternator is faulty.
If the charge indicator still does not illuminate, there is evidence of a broken circuit in the charging indicator or a damaged bulb. The indicator wiring should be checked according to the charging system circuit diagram and the charging indicator bulb in the instrument panel.
Check the charging indicator. Turn on the ignition switch, and do not start the engine. When the light stays on, unplug the alternator harness. The charging indicator should go off. Measure the voltage at the "L" end of the plug. It should be the battery voltage.
If the charging indicator does not go off, it can be judged that there is an overlap fault in its wiring. According to the circuit diagram, check the indicator wire to exclude a wire overlap issue.
If the charging indicator can come on, start the engine and make it run at medium speed. The charging indicator should go out. If it does not go out and the light goes out only after the alternator is unplugged, the alternator can be judged to be faulty. It needs replacement.
Turn off the ignition switch. Check and record the battery voltage. Then, connect the generator plug. Run the engine at medium speed, and the measured voltage should be higher than the pre-start voltage, at around 13.8 V. If the measured voltage is lower than the pre-start voltage or higher than 14.5 V, the alternator is faulty.
The voltage between the alternator housing and the negative battery terminal should not exceed 0.5 V. If it exceeds 0.5 V, check the negative battery terminal and engine hitch circuit to ensure a reliable connection. Clear the resistance at the contact points and tighten all connectors.
The voltage measured between the positive battery terminal and the alternator output should also not exceed 0.5 V. If it does, check the wiring between the positive battery terminal and the alternator output to ensure a reliable connection. Clear the resistance at the contact points.
 Lauritz Carolsfeld
  May 06, 2022