
Suppose an improperly idling engine runs with weak acceleration, increased fuel consumption, excessive exhaust and other faults. There are no other faults in the fuel supply and ignition system. In that case, it is most likely that the oxygen sensor has problems. How should we test the faulty component? Let's dive right in.
Most of the electronic control system engines have a self-inspection function. When the oxygen sensor or related parts have problems, the ECU has the fault content on the record. The technician can use a specific decoder to read out the DTC to determine the issues.
To check whether the oxygen sensor damages, the method follows: unplug the oxygen sensor harness so that the component no longer connects to the ECU. The positive voltmeter stylus directly connects to the sensor's feedback voltage output terminal.
When the engine runs normally, disconnect the crankcase forced ventilation tube, or another vacuum hose connects to the intake pipe. This step artificially forms a lean air-fuel mixture, at which time the voltmeter value should drop to 0.1-0.3V.
Connect the crankcase ventilation pipe or vacuum hose, then unplug the water temperature sensor connector. Replace the water temperature sensor with a 4-8KΩ resistor (or block the air filter inlet). This step artificially forms a rich air-fuel mixture. At this time, the voltmeter value should rise to 0.8-1.0V.
The concentration of the mixture can also be changed by abruptly stepping on or releasing the accelerator pedal.
When suddenly step on the accelerator pedal, the mixture becomes richer, and the feedback voltage should rise. When suddenly release the accelerator pedal, the mixture becomes leaner, and the feedback voltage should fall.
If the output voltage doesn't change accordingly when the concentration changes, the sensor is defective. At this time, remove a large vacuum hose to make the engine run at high speed. This step removes the black lead or carbon deposits on the oxygen sensor.
Then test again. If the sensor feedback voltage changes in terms of above rules, everything is fine. Otherwise, the sensor needs a replacement.
Measure the resistance of the oxygen sensor heater
Turn the ignition switch to 'OFF'. Unplug the sensor wire connector. Use a multimeter to measure the resistance between the heater terminal and the oxygen sensor terminal. The resistance value should meet the standard (generally 4-40Ω, values refer to the specific vehicle manual).
If it doesn't meet the standard, the oxygen sensor needs a replacement. After the measurement, connect the harness of the sensor for further testing.
Measure the feedback voltage of the oxygen sensor
To measure the feedback voltage, unplug the sensor harness connector. Extract a thin wire from the feedback voltage output terminal of the oxygen sensor in terms of the circuit diagram of the tested car. Then plug in the connector and measure the feedback voltage of the leadout wire when the engine runs.
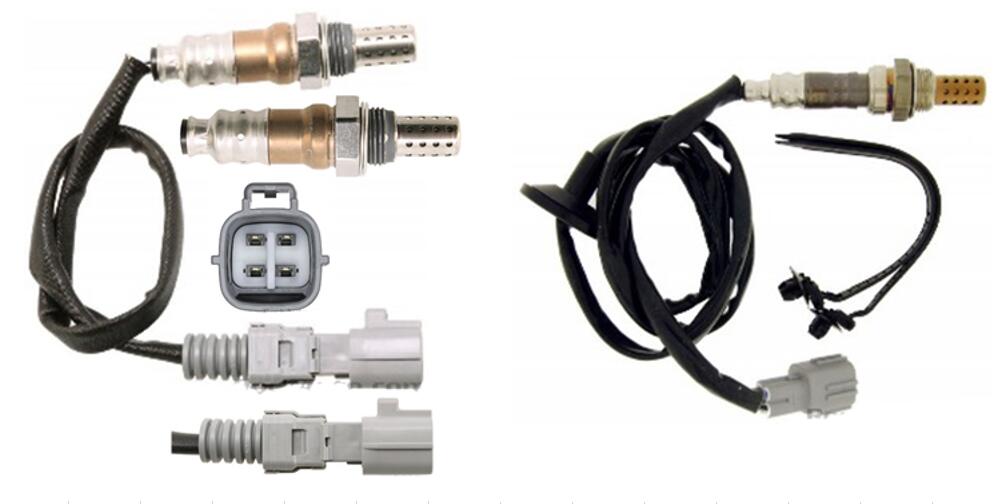
Technicians also measure the feedback voltage in the troubleshooting socket. For example, the feedback voltage of the Toyota oxygen sensor can be measured directly in the troubleshooting socket.
When testing the oxygen sensor's feedback voltage, it's best to use the analog voltage meter to visualize the change in feedback voltage. In addition, the voltmeter should be of low range (usually 2V) and high impedance (too low impedance damages the oxygen sensor).
Curious to learn what else we have in stock when it comes to other engine parts? Visit Delcoribo Motor Products online and enjoy unbeatable prices across so many products.
Here are a few examples of how to test the oxygen sensors on several cars for your reference.
How to test Lexus oxygen sensor
① Warm up the engine to normal operating temperature (or run the engine continuously at 2500r/min for 2min after starting).
② Connect the voltmeter's negative stylus to the fault diagnosis socket or the battery's negative terminal and the positive stylus to the fault detection socket or the lead wire on the oxygen sensor harness plug.
③ Keep the engine running at about 2500 r/min. Check whether the voltmeter pointer swings back and forth between 0-1V. Put the number of times the voltmeter pointer swings in 10s on record.
Under normal circumstances, with the feedback control, the feedback voltage of the oxygen sensor changes continuously above and below 0.4V. The number of feedback voltage changes in 10s should be no less than eight.
④ If the number of the voltmeter pointer swings in 10s is or more than eight, the oxygen sensor and feedback control system work normally.
If the number is less than eight, the sensor or the system doesn't work normally. The problem may be the carbon deposits on the sensor surface, which reduces the sensor's sensitivity.
At this time, let the engine run at 2500r/min speed for 2min to clear the carbon deposits. If the change of the voltmeter pointer is still slow, the oxygen sensor damages or the ECU feedback control circuit has a fault.
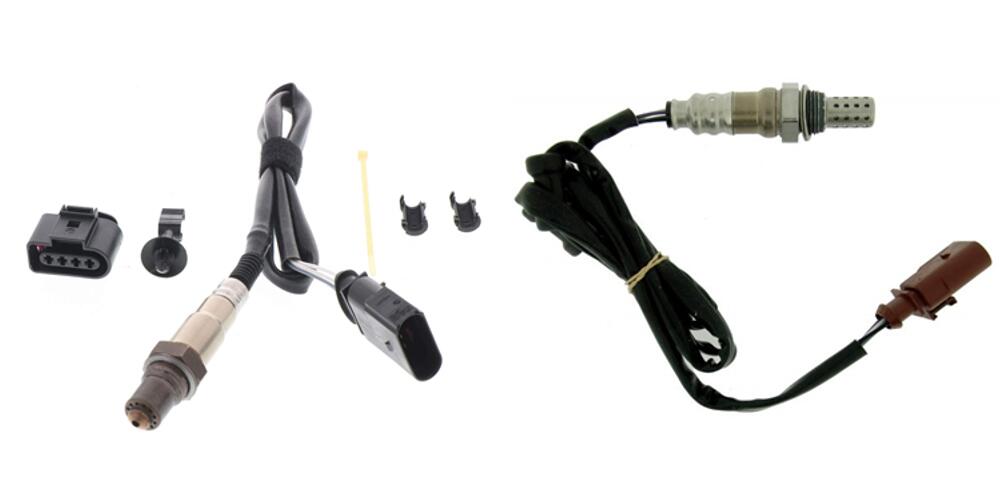
How to test Audi oxygen sensor
For Audi engines, hold the engine at 2500r/min. Use a wire to connect jacks on the fault diagnosis socket. Then measure with a voltmeter.
If the voltmeter pointer swings equal to or more than eight times in 10s, the oxygen sensor works normally. If the voltmeter pointer swings less than eight times but above 0 times, remove the wire, read the voltage value while still holding the engine at 2500r/min.
If the voltage is above 0V, replace the oxygen sensor. If the voltage is zero, read the DTC from the specific equipment. Check and repair other components according to the DTC if necessary.
How to test Chrysler oxygen sensor
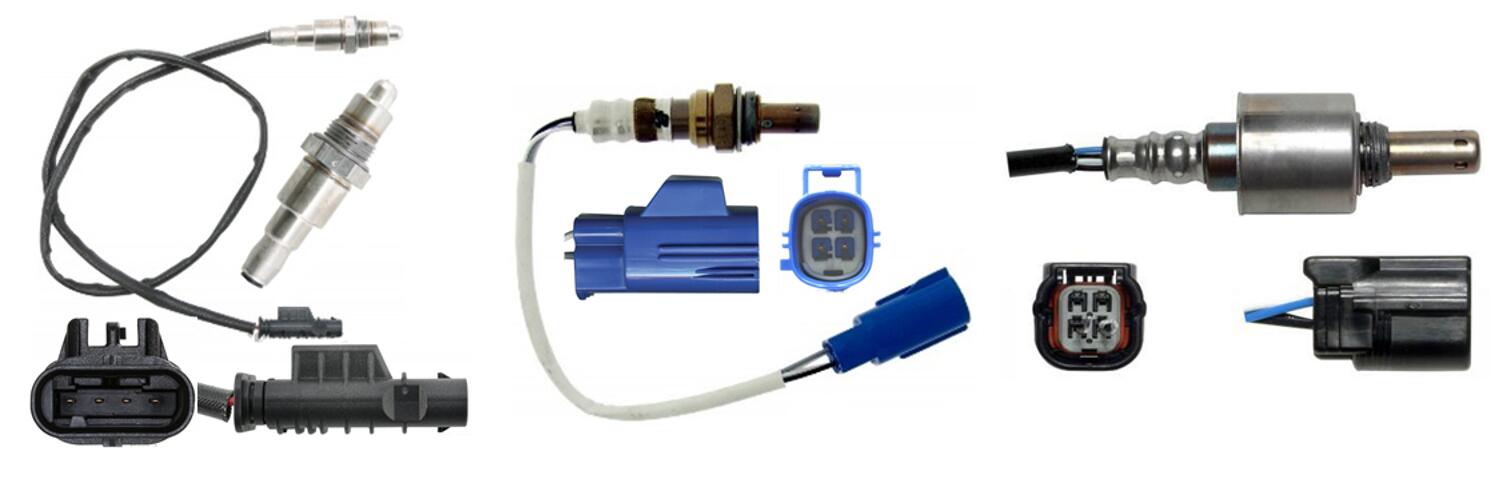
Chrysler oxygen sensor connects to the ECU. There are four wires on the sensor. Two of which are the signal output and earth wire of the oxygen sensor. The other two are the power input and earth wire of the heating component.
The sensor can be tested by specific equipment. In the absence of a professional tester, the following test methods work.
① Use a high impedance digital multimeter to test the oxygen sensor. Unplug the sensor harness and test the resistance value between the sensor terminal A and B. Under normal circumstances, the resistance value is 5-7Ω.
If the resistance value is infinity, the heating resistor burns out. The oxygen sensor needs a replacement.
② Test the output voltage of the sensor. In the standard wiring, when the engine is at normal operating temperature and stable operation, the voltage between the terminal C and D should be 0-1V.
If the voltage value is 0V and remains unchanged, the throttle needs to be opened and closed repeatedly to make the engine speed change. At this point, if the voltage changes with the opening and closing of the throttle, it indicates that the oxygen sensor is good.
If the voltage value is still 0V, it means that the oxygen sensor is defective.
If the voltage value is 1V and remains unchanged, remove a vacuum hose from the intake manifold to let the mixture become leaner.
At this point, if the voltage value starts to change, it means that the oxygen sensor is effective. Otherwise, it means that the oxygen sensor fails and need a replacement.
All in all, the oxygen sensor is a fairly durable component. It can last three years or more as long as the fuel is of good quality. Most abnormal damages to oxygen sensors are caused by excessive levels of black lead in the fuel. If your car has a three-way catalytic converter, this is something that you must take seriously.
 Lauritz Carolsfeld
  July 07, 2021